
Introduction
In this article, I will take a closer look at the Wecreat 40W Laser Engraver. This powerful tool is designed for hobbyists and professionals alike, allowing you to engrave and cut a variety of materials with precision. Let’s dive into the unboxing experience.
I had been looking at lasers for almost a year to add to my workshop as I am getting to embark on a new career making custom household items and decorations during my retirement. I saw the Wecreat 40w about 2 months ago and instantly knew I’d found my device, plus a sale price where I paid only $2600 for the entire package with the engraver, output air filter, air lift, auto passthru, rotary pro tumbler engraving tool and the 2w laser engraving unit for finer printing.
On top of the points I listed above this laser seems to be the easiest and safest laser devices on the market. The strongest feature in this the internal camera for assisting with the alignment of the area to be engraved on the material from the Wecreat software tools. On other devices I noticed that you would see a light on your material and you would align your material with this light. This seems to make the entire process very easy and self explanatory. I also like the wya that the Wecreat has its own self contained box to reduce smoke and exposure to the laser light (which can be harmful to your eyesight).
The last major enhancement to the Wecreat is the autolift mechanism
What’s in the Box?
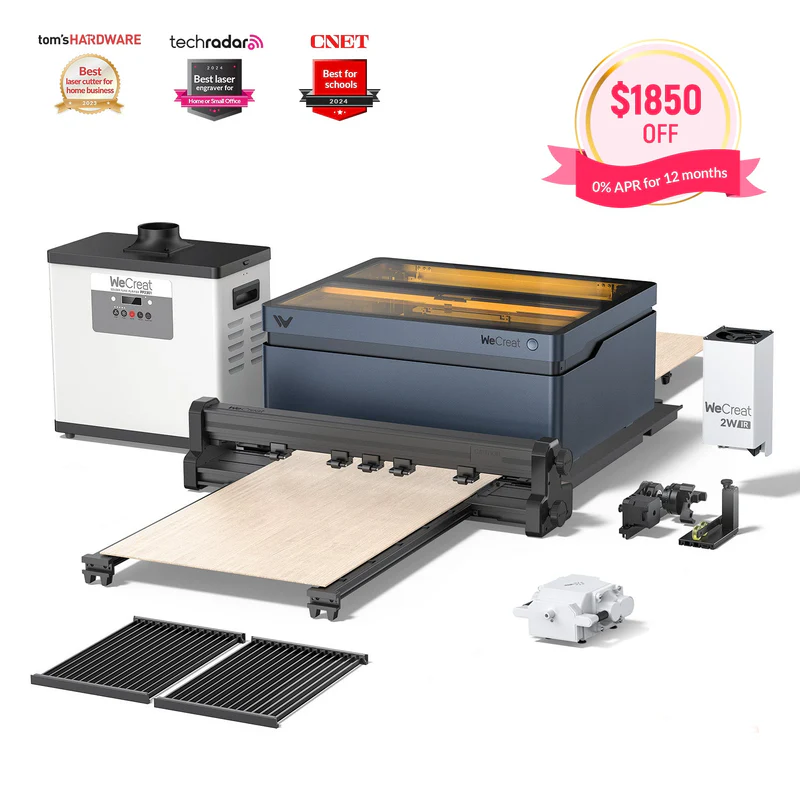
When you first open the box, you will find:
- Wecreat 40W Laser Engraver Unit: The main body of the engraver, featuring a robust design.
- Laser Module: The 40W laser head, essential for engraving and cutting.
- Control Panel: For easy operation, featuring buttons for various functions.
- Power Supply: To ensure your engraver has the necessary power to operate efficiently.
- Focus Lens: For optimal engraving results.
- Cleaning Toolkit: To maintain your engraver in top condition.
- User Manual: A comprehensive guide to help you set up and start using your engraver right away.
- Instructional DVD: Includes tutorials and setup instructions.
First Impressions and Unboxing
Upon opening the box, the first thing you’ll notice is the sturdy construction of the laser engraver. Every component is well-packaged to prevent any damage during shipping. The design is sleek and modern, which makes it an attractive addition to any workspace.
The box is heavy so be careful as you move it around. When unboxing the unit you will notice that it is encased in some very heavy styrofoam packing. You will be tempted to cut the banding wrapped around the styrofoam container but leave these intact so you can use them to lift the styrofoam out of the box.
Once you have removed the styrofoam take the platform grids from the packaging and lay them aside. Do note that you should preserve all the packing in case you have to send the unit back for any reason. Lift the top off the styrofoam box and remove the engraver settinng it down on your workbench. Please note that the bottom crumb tray for the engraver is in the bottom of the styrofoam, remove it and put it aside.
You will notice that the inside of the engraver is packed as heavily as the outside. Pull off the packing tape holding down the cover of the engraver (it will leave a little bit of residue which you can clean off later). Carefully begin removing the styrofoam from inside the unit beginning with the 2 pieces in the middle. These pieces have 2 boxes imbedded in them containing all the smaller part for the engraver including the tumbler engraver unit, accessory cable, network antenna, venting hose, power cords and power supply.
Next remove the 2 or 3 pieces of styrofoam from the front of the engraver. Lastly slowly move the print mechanism forward and pull out the remaining styrofoam. lift the engrave up slightly and ypu will see some slots in on the sides of the opening. These slots will allow you to slide the lip of the crumb plate into them. Push the plate all the way to the back to until it clicks into place. You are now ready to start the assembly process.
Overall Wecreat has created a very secure and strong shipping container to help prevent your expensive purchase from damage in shipping. I know for myself I felt 100% sure that the device would work first time out of the box. The device itself is very well engineered with all cables and mechanisms tied back, protected and keeping any possible damage caused by moving pieces to a minimum. This goes similarly for any accessories you may add onto the device. They have provided tiewraps, tiedowns and very adequate space to add any extra cabling needed for this device.
Setup Process
- Find a Suitable Workspace: Ensure that you have a flat surface with adequate ventilation. I purchased the auto feeder so I could engrave larger signs and projects. You will need at least 6 feet of space to attach this unit. Because of the motion and movement of the device make sure your table for setting this up is very sturdy to prevent any problems with the cuts.
- Properly Locating The Unit: Remember this device burns wood and material as it cuts and engraves you material. It is best to locate you device near to a working window so you can vent the inside of the box out of your workspace. In reviewing this device several folks had mentioned that the hose should have no rough bends since this will reduce airflow and force smoke into your work space, it was further noted that you purchase an inline fan to assist with the venting. As for myself I purchased the Wecreat filter device so I don’t need access to a window.
- Assemble the Parts: Follow the user manual to connect the laser module and power supply.
- Install Software: Download and install the required software from the manufacturer’s website.
- Calibrate the Laser: Use the focus lens and board provided by Wecreat to adjust the laser height for different materials.
Conclusion
Unboxing the Wecreat 40W Laser Engraver is an exciting first step in exploring the world of laser engraving or an addition to a skilled professionals shop. With everything you need included, you’ll be set up and ready to create in no time. Happy engraving! I will continue to update my blog as I dive deeper into this new tool for my workshop.